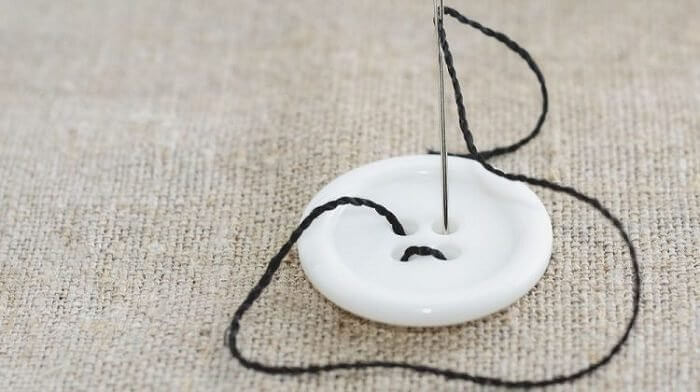
Hand Sew Buttons Easily
Perhaps one of the best skills that a person can learn is how to sew buttons on quickly and easily. There is nothing worse than thinking that your favorite garment is doomed and broken when it loses just one button. This is actually the easiest thing to fix and can be done quickly by hand using the stitch pattern and method that is shown in the photo. Your garment will be as good as new in no time.
Some people prefer to sew the button on in this pattern, with parallel stitch lines, and others prefer to sew it on with a criss cross. Both work very well!
sewing.com
Use a Fork to Help You Make Ruffles
Ruffles are a big part of fashion. Sometimes they are extremely popular and other times they are completely out of style and even other times you just have to use them wisely in order for them to be in style. Regardless of the trend, if you want to make some ruffles, there is a simple trick that will help you do it. All you need is a fork and your life will be so much easier.
The fork will help you fold the fabric perfectly every time so that you can ensure that the ruffles are even and looking great, regardless of the fabric you are using.

Home Decoras
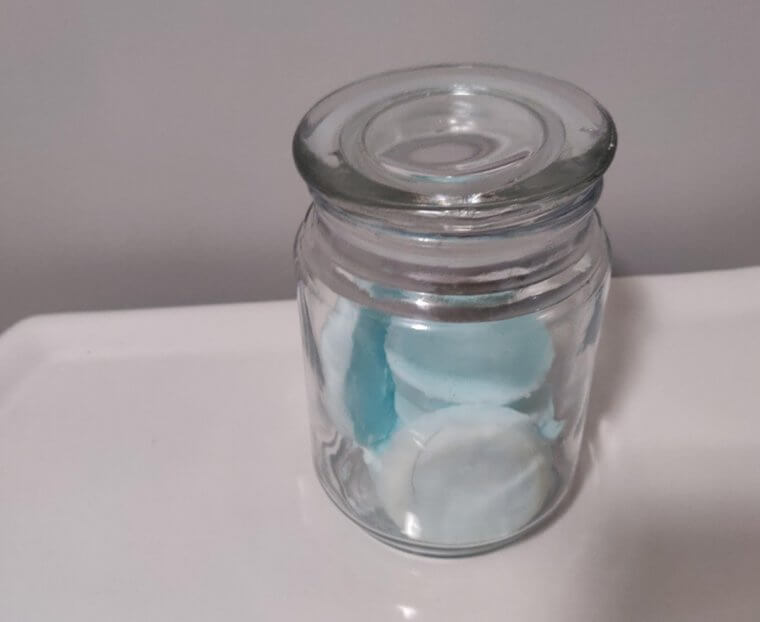
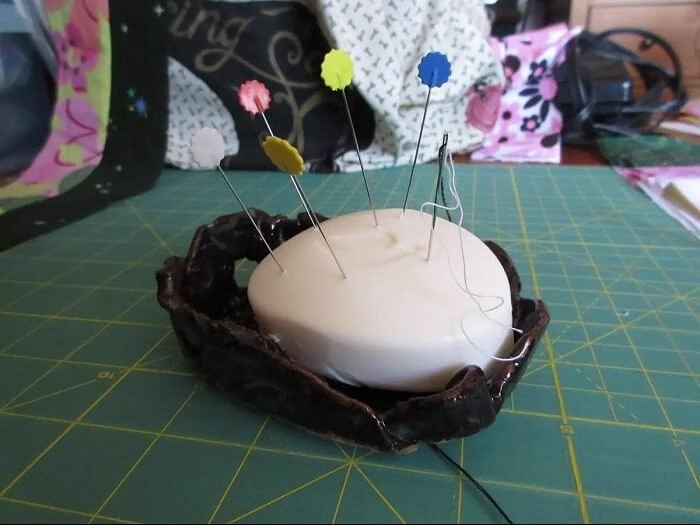
DIY Soap Pin Cushion
There are so many different ways to hold your pins and needles that are better than a simple container where they all get mixed together and you run the risk of pricking your fingers whenever you go in for a singular pin or needle. If you don't want to use the magnet or pin box or fabric pin cushion, you can always use a bar of soap to hold all your pins.
The soap makes for a great stabilizer for all of the pins. The only downside to this is that there may be some soap residue on the pins afterwards.
marlenehutchins.blogspot.com
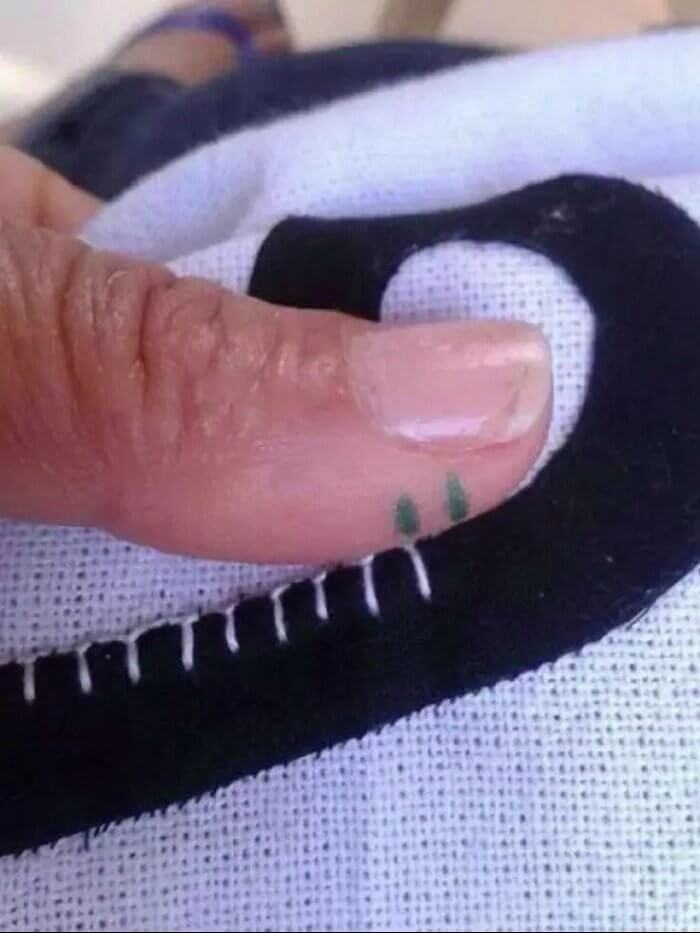
Mark Your Thumb With the Seam Lines
Although most of the items in this article have been focused on tips and tricks for machine sewing, there are plenty of tips and tricks to keep in mind for those who want to hand sew as well. One of the simplest ones is to mark the stitching lines on your finger (usually the thumb is best) and this allows you to know exactly where to start your next stitch.
This will make your hand sewing a lot easier and it will also ensure that your project looks professional and even all across as you won't be guessing about the stitch sizes.
www.diyncrafts.com
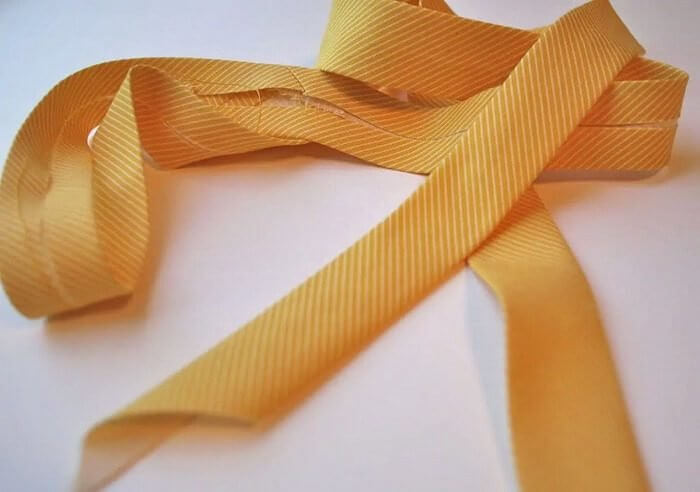
Make Your Own DIY Bias Tape
Bias tape is extremely useful and helpful when you are sewing. It can be used in various projects to close seams and to ensure that all of the edges are looking professional. However, you don't need to rush out to the store every time that you want to use some bias tape. It is actually one of the easiest things to make at home with some spare fabric that you have lying around.
It does take some time to make the bias tape, but it can definitely be worth it if you are looking for something to match the outfit that you are making perfectly.
whip-stitch.com
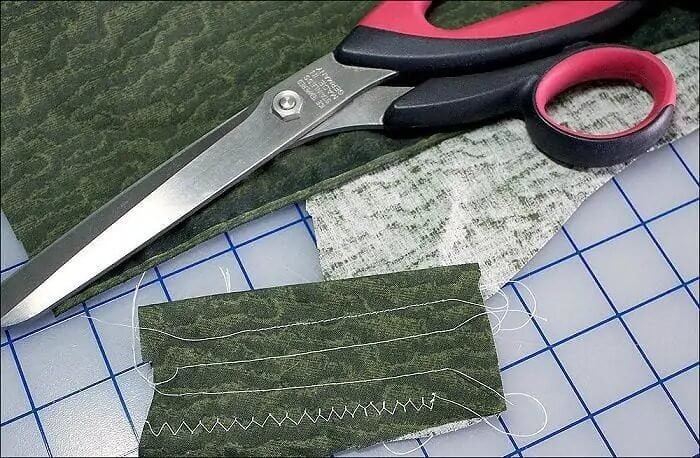
Do a Short Stitch Test Before You Start
Every sewing machine is different and different fabrics and needles can react differently every time that you sew. One of the easiest and simplest things that you can do to make your sewing experience better is to just do a few sample stitches before you start any sewing project. That will ensure that your stitches are all even and looking as you want before you start to sew on the actual fabric.
All you have to do is get a piece of scrap fabric and test one of each type of stitch so that you can see how it works.
m.youtube.com
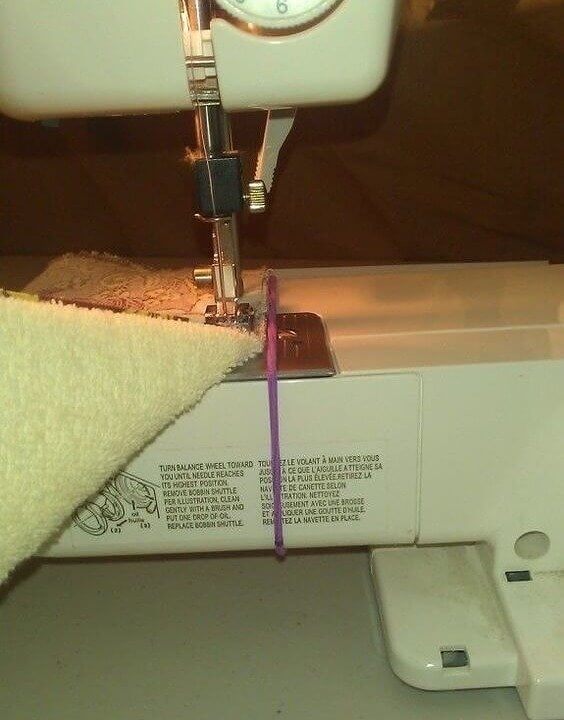
Use a Rubber Band to Mark the Seam Allowance
Although most machines come with markings that show you the different seam allowances, sometimes you will have a bigger seam allowance that you need to mark and know where to sew. Instead of drawing a line on your sewing machine or just eye balling it and hoping for the best, you can use a rubber band and wrap it around the base of the machine at the length that you need for the allowance.
This is especially great because then you don't have to worry about marking up your sewing machine every time you have to put in a seam allowance, you can just move the rubber band.
Instructables